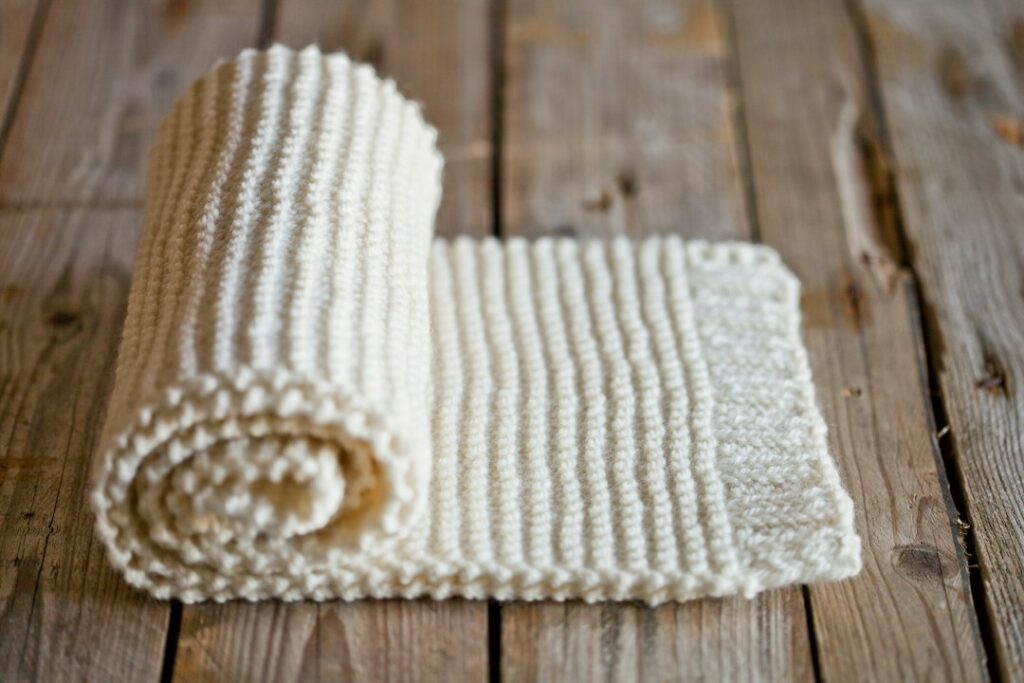
Soft Single Crochet Baby Blanket Pattern is designed as a calm, approachable way to spend time with a hook and yarn. The project focuses on repeatable movements, a manageable construction and a useful result. Choose colors that suit your own space or wardrobe; warm neutrals, terracotta, muted gold and soft sage work beautifully together. Read the full instructions once before beginning, especially where a round closes or a row turns.
Project at a glance
- Skill level: Beginner
- Yarn: soft worsted yarn suitable for baby items
- Hook: 5.5 mm (I/9), or size needed for the desired fabric
- Also needed: tapestry needle, scissors, stitch marker; stuffing for the ball only
- Finished size: make a swatch to calculate a finished width; use multiples of any stitch count
- Gauge: Not fixed; make a swatch for sized projects and adjust your foundation or repeat count to fit.
US crochet abbreviations
ch = chain; sl st = slip stitch; sc = single crochet; hdc = half double crochet; dc = double crochet; sc2tog = single crochet two together; BLO = back loop only.
Before you begin
Choose a smooth, comfortable yarn so every stitch is easy to see. If you are new to reading crochet patterns, first make a small practice square and get used to finding the top two loops of each stitch. A consistent tension matters more than crocheting quickly. Keep your work in good light, pause to count stitches at the end of each row or round, and mark the first stitch when working in a spiral.
All instructions here use US crochet terminology. Yarn brands and personal tension affect measurements, so the dimensions below are estimates, not promises. The written designs are editorial instructions and have not been physically tested or independently tech edited; please check counts and fit as you crochet.
Step-by-step instructions
- Make a foundation chain long enough for your planned blanket width, allowing for the chain to be slightly wider than the fabric.
- Row 1: Work 1 sc into the second chain from hook and into every remaining chain; turn.
- Row 2: Chain 1 (does not count as a stitch), work 1 sc in each stitch across; turn.
- Repeat Row 2 until the blanket reaches the intended length, counting stitches regularly to keep the sides straight.
- Optional border: Work one round of sc evenly around, placing 3 sc into each corner stitch to turn. Finish with a slip stitch and weave in the ends securely.
Helpful notes as you work
Place a removable stitch marker near the beginning of the first round, or at the right edge of a repeated row, so you can see where the pattern begins. Double-check the number of stitches after each increase and decrease: small differences can compound into wavy edges, unwanted angles or a fabric that does not lie flat. If a stitch is difficult to identify, spread the work gently with your fingers rather than pulling on the working yarn.
Finishing and care
Use a blunt tapestry needle to weave every yarn end securely through several stitches on the back. Trim only after checking that the ends are anchored. For a neater finish, gently shape the fabric with your hands; a light block can help flat cotton pieces settle. Always follow the yarn label for washing and drying. If your project will be given to a baby, avoid loose attachments, buttons, beads and long strands, and remember that crocheted items should be kept out of infant sleep spaces.
If your edges start to tilt, pause and check the stitch count rather than adding an extra stitch to hide the difference. If the work feels stiff, try a slightly larger hook; if it looks loose, try a smaller one. Your swatch is the most useful guide. Making a little sample first saves frustration and helps you learn how your yarn behaves.
Ways to make it your own
Try a gentle two-color combination, keep the edge in one neutral shade, or work a matching set as a personal gift. The basic technique is deliberately versatile: once you understand the foundation, you can substitute colors, change the scale, or use a small sample to plan a larger item. For gifts, attach a simple care card with the fiber content and washing recommendations from the yarn label. Focus on neat finishing and comfortable handling rather than racing to the last stitch.
Keep learning with our half double crochet lesson, cotton coaster and classic granny square. Browse all free patterns for another thoughtful project.